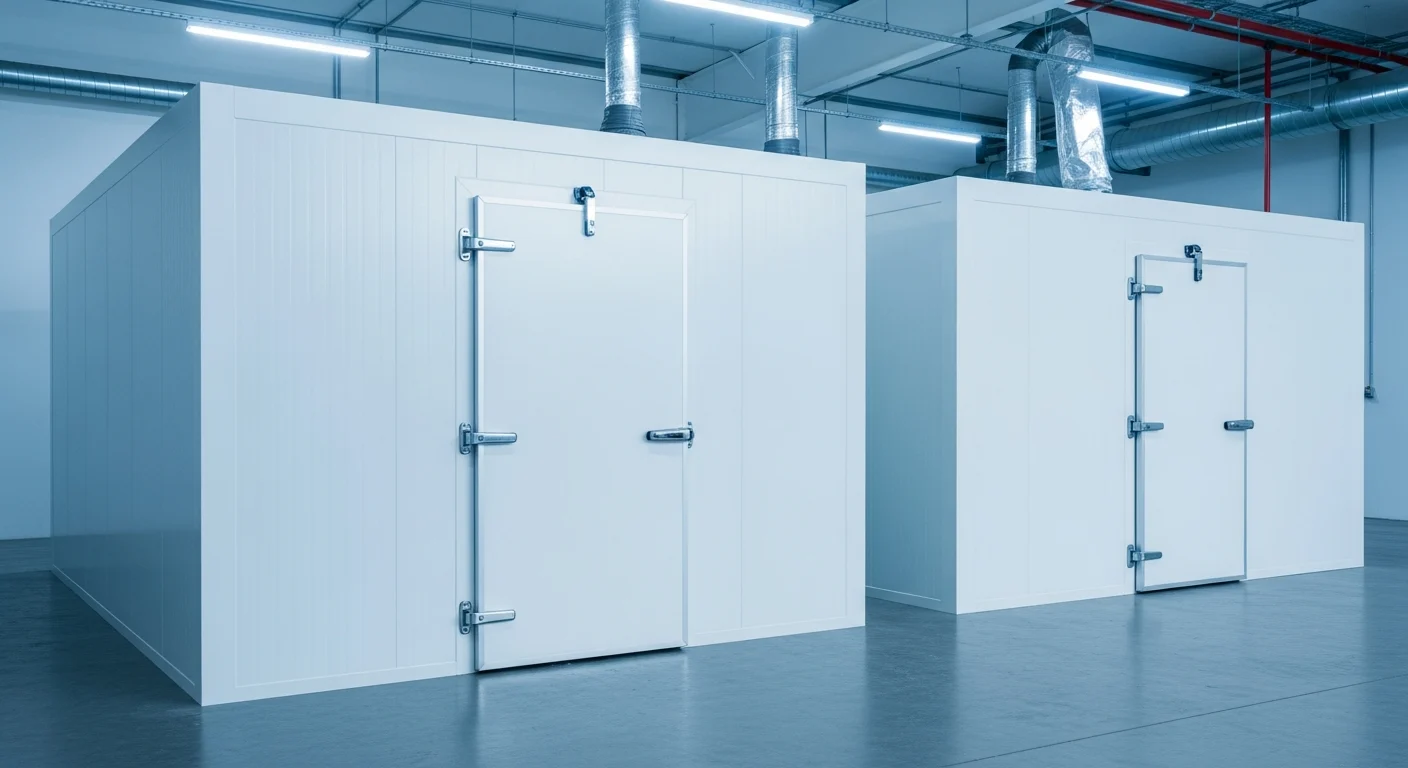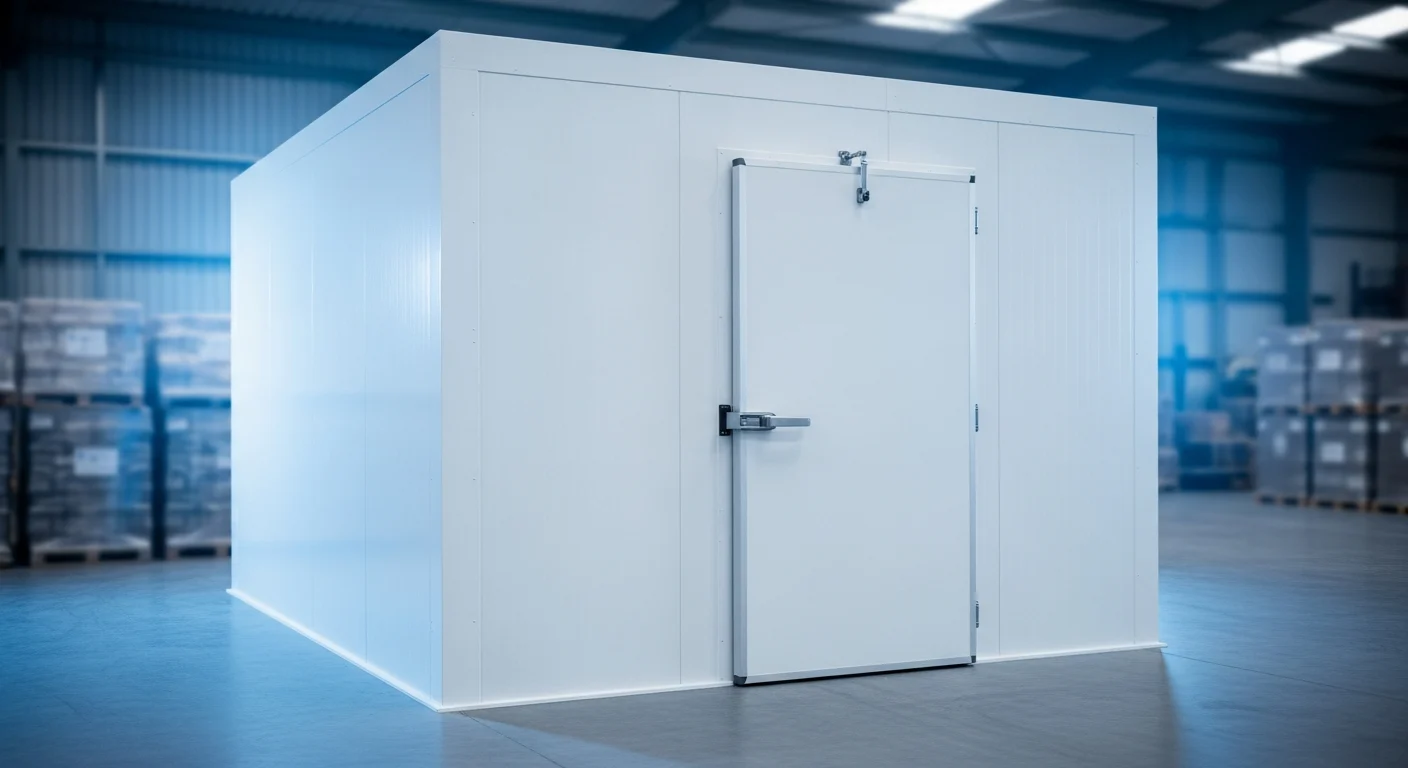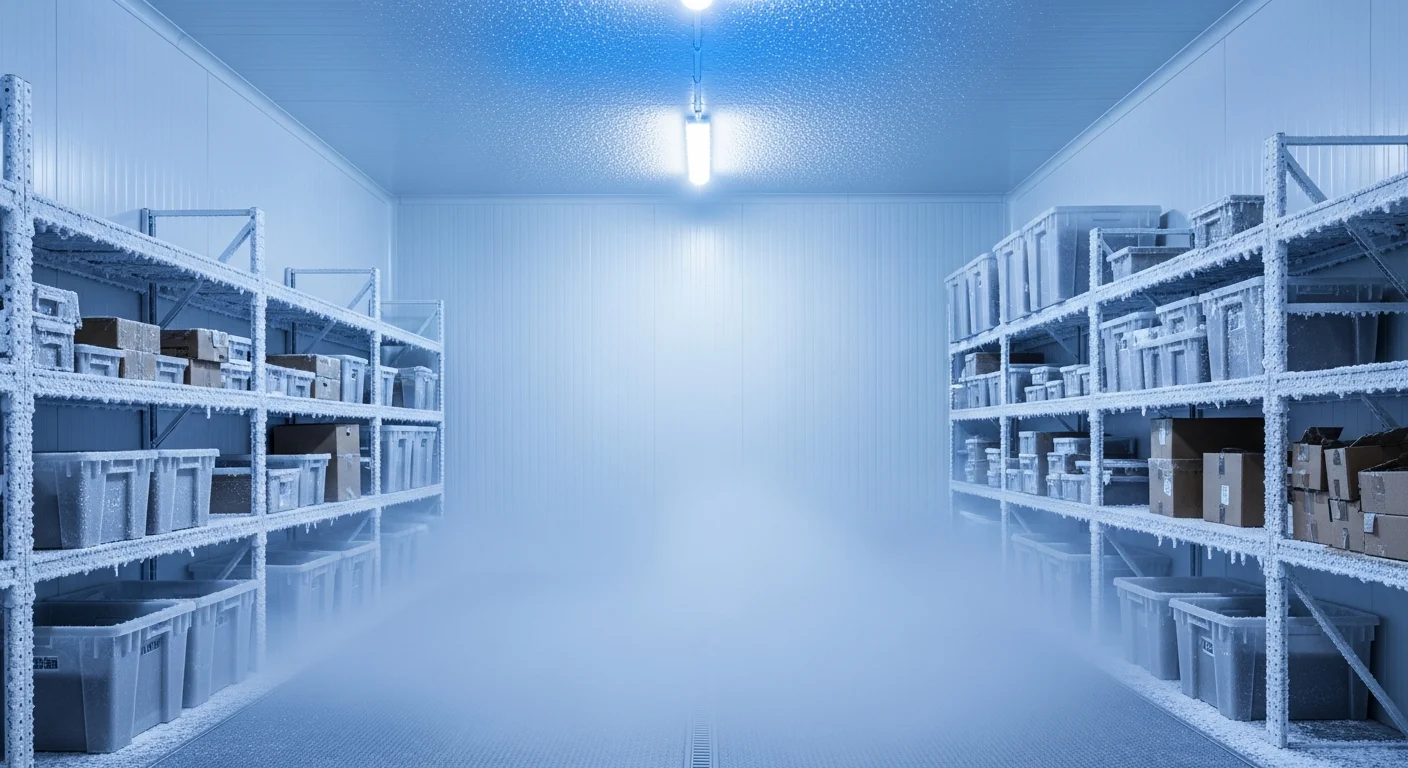
Build Guide / Flat-pack systems
DIY cool room: building your own with a flat-pack panel kit
A flat-pack kit removes the welding, the wet trades and most of the guesswork — but it does not remove the licensed trades. Here is what actually ships on the truck, and where a self-build is won or lost.
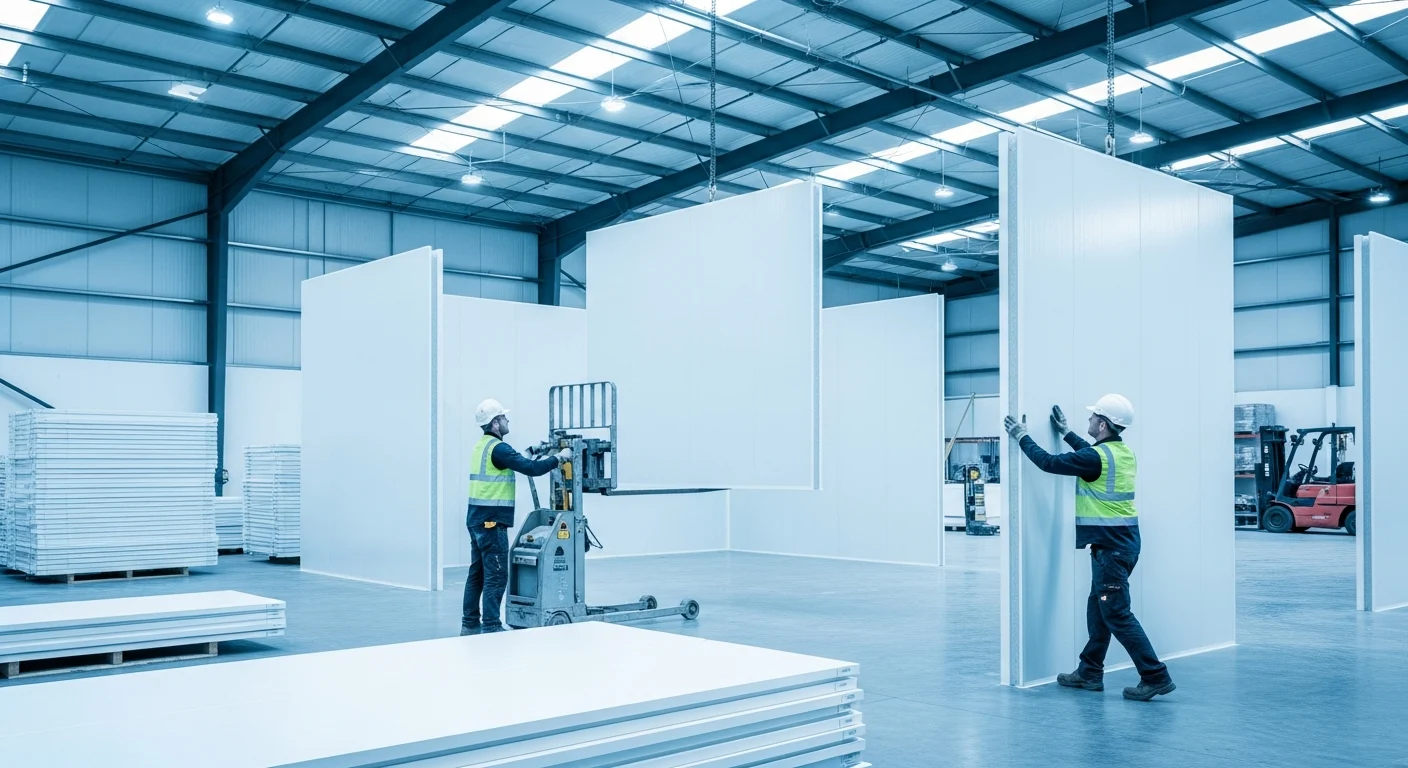
A flat-pack cool room kit is the closest the cold-storage trade gets to flat-pack furniture, and the comparison is more useful than it sounds. Everything arrives cut, labelled and ready to join. Nothing arrives assembled. The quality of the finished room depends almost entirely on how carefully you prepare the surface it stands on and how patiently you close the joints — the same two things that decide whether a wardrobe ends up square.
The appeal is straightforward. A conventional cool room build pulls in a fabricator, a concreter and a shopfitter before the refrigeration even arrives. A kit collapses that into a delivery, a hire trolley and a weekend, because the panels do the structural work themselves. What follows is what is inside the pack, which parts of the job are legally yours, and the details that separate a room that holds temperature from one that sweats at the corners.
01 / 06
What actually ships in a flat-pack kit
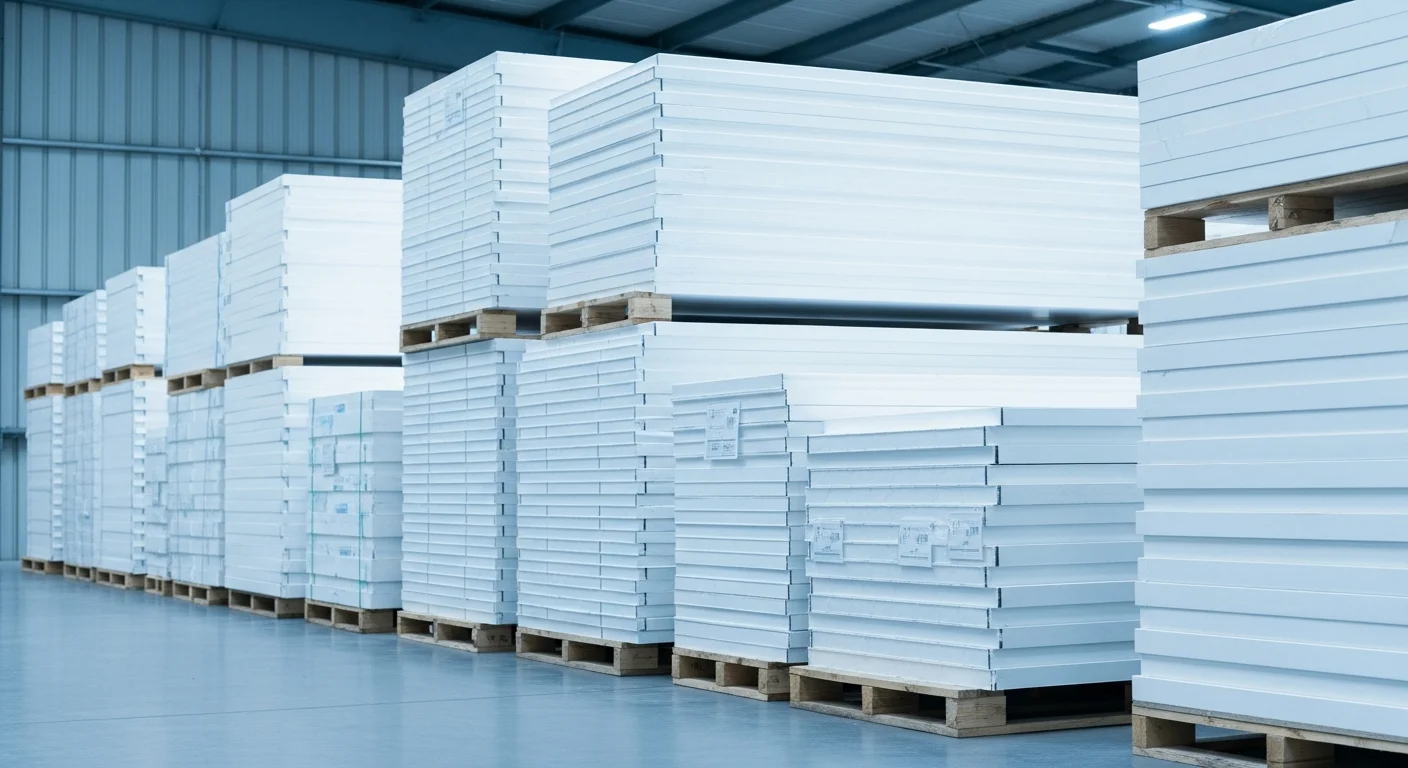
A kit is a complete envelope, not a bundle of sheets. Panels are cut to your internal dimensions before dispatch, which is why the order sheet asks for finished internal height rather than external — the difference is the panel thickness, and getting it backwards is the most common ordering error we see.
- Wall panelsPre-cut insulated sandwich panels with a factory cam-lock edge on both sides. Thickness is specified by duty: chiller rooms sit at the lower end, freezer rooms at the upper.
- Ceiling panelsSame construction, spanning the short dimension. Long spans are supported from above rather than made thicker.
- Floor panelsFreezer kits only. Chiller rooms are normally built directly onto the existing slab.
- Cool room doorHinged or sliding, supplied in its frame with gasket, closer and internal safety release already fitted.
- Flashings & trimsInternal coving and external corner trims — the parts that turn a joint into a sealed, cleanable surface.
- Seals & fixingsFood-grade silicone, sealing tape and the screws for flashings. The cam-locks themselves need no fixings.
The cam-lock is the reason the system works without a workshop. Each panel edge carries a hook-and-cam mechanism driven by a hex key through a small port in the panel face; a quarter turn pulls the adjoining panel tight and holds it under permanent tension. There is no welding, no wet trade, and no structural frame to square up first — the locked panels are the frame.
02 / 06
The base decides the build
Almost every problem that shows up later — a door that will not latch, a corner that will not close, a visible light gap at the ceiling — traces back to the slab. Panels are rigid and perfectly square. A floor that falls 10 mm across three metres does not bend them; it opens the joint at the top instead, and no amount of silicone will close it afterwards.
Check the base with a laser or a straightedge and a level before the kit is unwrapped, not after. Sweep it properly. Confirm the room’s footprint fits with clearance for the door swing and for the condensing unit’s service access, and check that the slab is dry — a chiller built onto a slab that still holds construction moisture will condense against the underside of the panels for months.
Panels must be erected on a level, clean and dry base. Variations greater than 5 mm across the room footprint must be packed or ground out before the first panel is stood.
From the kit’s installation sheet
If the fall is small, packers under the wall panels will take it up. If it is not, grind or self-level the slab and let it cure. That delay is far cheaper than dismantling a locked shell.
03 / 06
Standing the shell: five moves
With a prepared base and two people, the sequence below is genuinely a one- or two-day job for a small room. Work from one corner and keep going in the same direction — cam-locks are handed, and reversing halfway around the room means a panel that will not engage.
- Set out and check the baseMark the footprint, confirm level and clearance, sweep the slab clean.
- Stand the first cornerTwo wall panels, locked to each other and braced. This corner sets the geometry for everything after it.
- Run the wallsPanel by panel around the perimeter, cam-locking as you go and checking plumb every second panel.
- Fit and lock the ceilingCeiling panels drop in and lock down into the wall tops, which is also what stops the walls spreading.
- Hang the door, then sealDoor frame plumbed and gasket compression checked, then coving, flashings and a continuous silicone bead on every internal joint.
04 / 06
Sealing is not finishing
It is tempting to treat the sealing stage as cosmetic tidy-up once the room is standing. It is not. An unsealed joint is a thermal bridge and a moisture path: warm air migrates into the seam, hits the cold side, condenses inside the joint and stays there. Over a season that shows up as a rust line on the panel skin, a soft edge on the core, and a compressor that runs longer than it should for a room that measures the right temperature. (More on that in cool room running costs.)
Run coving into every wall-to-floor and wall-to-ceiling junction, bed it in silicone rather than sealing over the top of it, and tool the bead so it is concave and continuous. Corners are where beads break — do them last, deliberately, and do not rush the door reveal.
05 / 06 — Scope of works
Where DIY stops and licensed trades start
The shell is yours. The cooling is not. In every Australian state and territory, refrigeration and electrical work must be carried out by appropriately licensed trades — the condensing unit must be installed and commissioned by a licensed refrigeration mechanic, and the supply connected by a licensed electrician. This is a legal boundary, not a recommendation, and it also protects the panel warranty.
You can do this
- Prepare, level and clean the base
- Stand and cam-lock wall panels
- Fit and lock ceiling panels
- Hang and adjust the door frame
- Fit coving, flashings and trims
- Seal all internal joints
Licensed trade required
- Installing the condensing unit
- Refrigerant pipework and charging
- System commissioning and handover
- Final electrical connection
- Switchboard and circuit work
- Compliance certification
Size your room in the 3D calculator
Panel counts and cut lists — no account needed
06 / 06
What it really costs you
Kit pricing moves with panel thickness, room size, door type and where in the country it lands, so any single figure quoted here would be wrong for most readers. Size the room and generate a current figure with the 3D panel calculator, or compare core types first in our EPS, PIR and Rockwool comparison. For the full picture on what drives a quote, see how much a cool room costs.
The cost that people underestimate is not the kit — it is the sequencing. The refrigeration mechanic needs the shell finished, sealed and powered before commissioning, and a slab that needs grinding can push that appointment out by a week. Book the trades against a realistic shell date rather than an optimistic one, and the flat-pack advantage holds. Treat the build as a weekend and it will quietly become a month.
Frequently asked questions
Can I build my own cool room?
Yes – the room shell of a flat-pack kit is designed to be assembled by a competent DIYer. The panels cam-lock together on a level base, the door bolts on, and the joins are sealed. Refrigeration and electrical work must be done by licensed trades.
What do I still need a licensed pro for?
The refrigeration install must be done by a licensed refrigeration mechanic, and the electrical supply connected by a licensed electrician. Doing it yourself is illegal and voids warranties and insurance.
What is in a flat-pack cool room kit?
Pre-cut insulated wall, ceiling and (for freezers) floor panels with cam-lock joins, a cool room door, and the flashings, trims and seals to finish it. It ships flat and assembles on site.
How long does it take to assemble a cool room kit?
A small room shell can go together in a day or two with two people. Refrigeration and electrical connection are booked separately with licensed trades.