
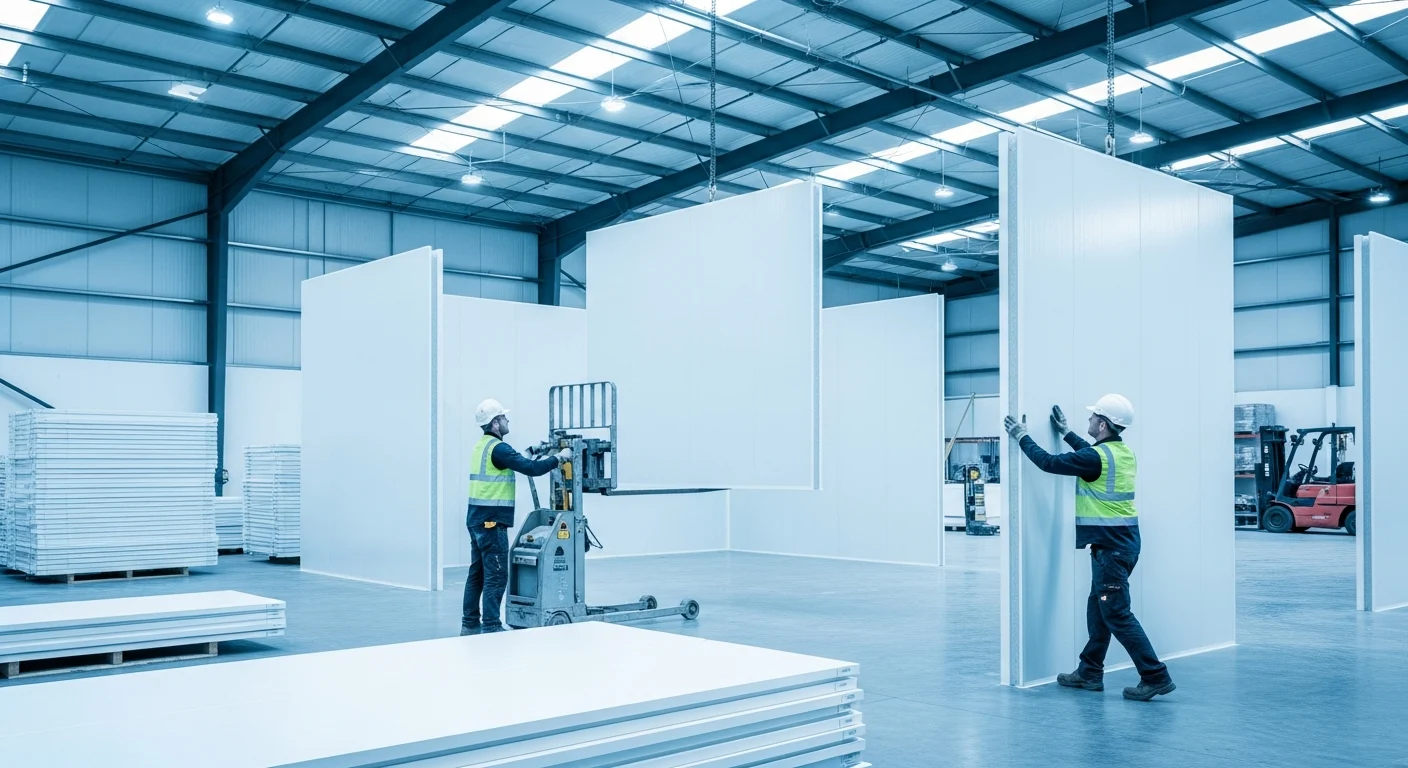
Building a cool room is mostly a sequence of decisions — temperature, panel spec, floor, then assembly. Get the first three right and the build itself is straightforward. Here’s the order Australian buyers should work in, and where each choice locks in what a cool room costs to build.
Set your temperature first
Everything downstream — panel thickness, core type, refrigeration size — follows from your set-point. Decide this before you price anything.
| Room type | Typical set-point | Common panel |
|---|---|---|
| Chiller / cool room | +2°C to +8°C | 75–100 mm |
| Cold store | −2°C to +2°C | 100–125 mm |
| Freezer | −18°C to −25°C | 150–200 mm |
These are indicative starting points, not a design. Ambient conditions, door traffic and what you’re storing all shift the answer — a busy freezer in a hot shed needs more than a quiet one indoors.
Size the room and count your panels
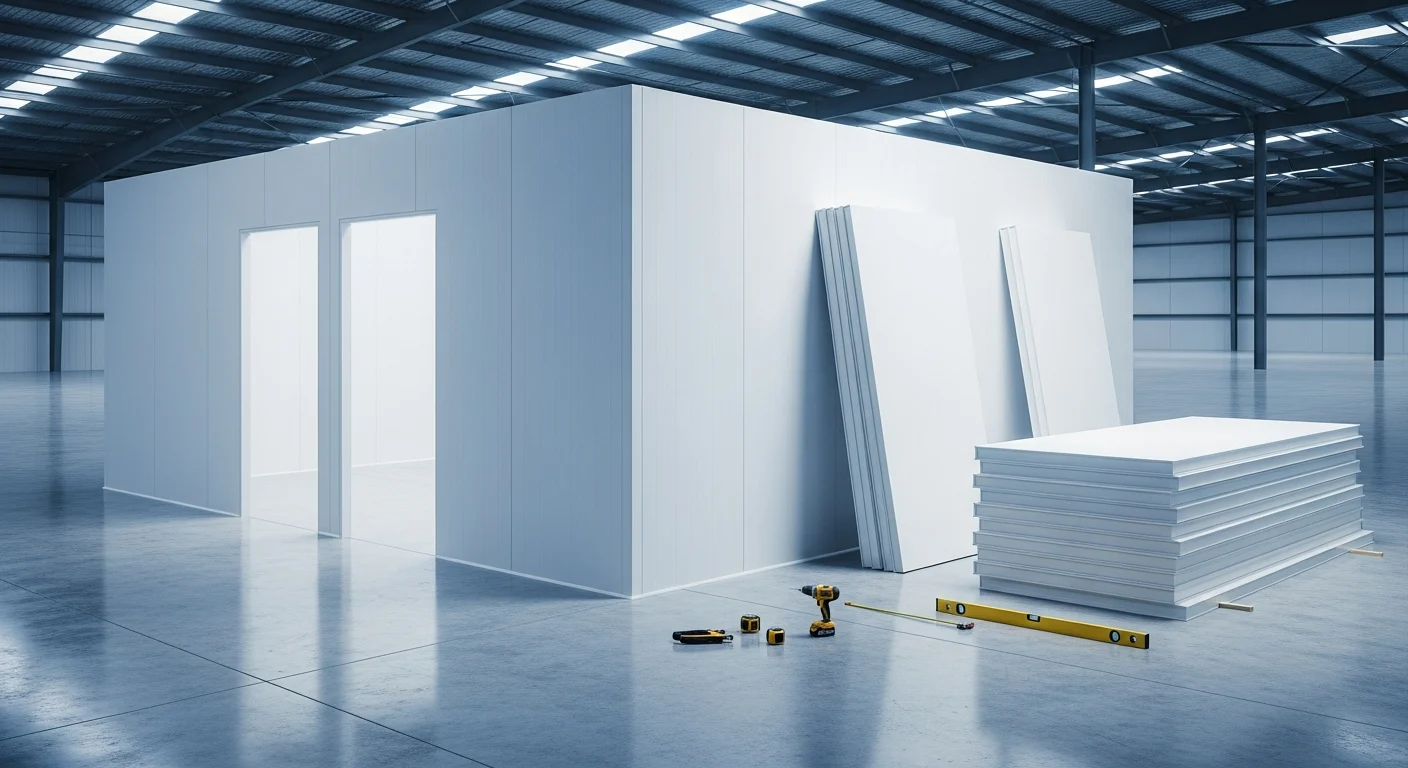
Once you’ve worked out what size cool room you need, you can work out wall and ceiling area, then divide by the panel cover width to get a panel count. Add a waste allowance so you don’t come up short mid-build.
Rather than doing it by hand, run the numbers through our 3D cool room panel calculator — enter length, width, height and roof type and it returns panel count, total m² and accessory metres, and shows the build in 3D as you change it.
Choose your core: EPS, PIR or Rockwool
All three are the same idea — an insulating core bonded between two steel skins. The core is what changes cost, insulation per millimetre and fire behaviour.
- EPS — the most economical and lightest. The practical default for most chillers and cool rooms.
- PIR — roughly double the R-value of EPS per millimetre, so you get a colder room in a thinner wall. It’s the most expensive core, and the usual pick for freezers or tight wall build-ups.
- Rockwool — a non-combustible mineral core with the best fire and acoustic performance. Heaviest, mid-priced, and the choice when a fire rating is mandated.
If you’re weighing it up, the full breakdown with λ-values and R-values is on our EPS vs PIR vs Rockwool comparison.
Decide on the floor
This is the step people skip, and it’s the expensive one to fix later.
- Chiller on an existing slab — often fine without an insulated floor.
- Freezer, or any room off-slab — you generally want insulated floor panels. Without them you get cold-bridging, condensation, and over time frost heave can lift and crack the slab.
If the room sits on ground that freezes, talk to your refrigeration designer about the floor before you order panels.
Order panels and the bits that hold them together
Panels are the headline item, but a build needs more than walls:
- Wall, ceiling and (optionally) floor panels at your chosen thickness
- Cam-locks — the hidden hook locks that pull panels tight into a sealed joint
- C-channel, corner channel and capping — the trims that finish and seal edges
- Coving — curved corner sections for hygienic, wipe-down food-grade corners
- An insulated door — hinged or sliding, matched to your panel thickness
The calculator estimates accessory metres alongside the panel count, which is usually the part people under-order.
Assemble: floor, walls, ceiling, door
Cam-lock panels are designed to go together in a predictable order:
- Set out and level the floor (or floor panels) — a square, level base makes everything after it easier
- Stand the wall panels, locking each into the last as you go around
- Fit the ceiling panels once the walls are square and locked
- Hang the door, then fit trims, coving and silicone the joints
Take the time to get the first two wall panels plumb and square. Every panel after them inherits that alignment, and a small error at the start becomes a gap you can’t close at the end.
Refrigeration and commissioning
The panels make an insulated box; the refrigeration makes it a cool room. Sizing the unit depends on room volume, set-point, ambient temperature, door openings and the heat load of what you’re putting inside — including product that arrives warm.
Five mistakes that cost the most
- Choosing thickness on price alone — an under-insulated freezer runs harder forever. The panel saving disappears into the power bill.
- Forgetting the floor — the hardest and priciest thing to retrofit.
- Under-ordering trims — jobs stall waiting on a few metres of channel.
- Ignoring door traffic — a high-traffic door changes the heat load significantly.
- Leaving fire compliance to the end — if your building class requires a non-combustible core, that decision belongs in Step 3, not after the panels arrive.
Frequently asked questions
Can I build a cool room myself?
The panel assembly is designed to be straightforward — cam-lock panels go together without specialist trades. The refrigeration must be installed and commissioned by a licensed technician, and floor, drainage and compliance details are worth getting professional input on.
How long does a cool room build take?
The panel shell of a small room can go up quickly once everything is on site and the base is level. The realistic timeline is usually driven by lead time on panels, doors and the refrigeration unit rather than the assembly itself.
What panel thickness do I need for a freezer?
Freezers commonly use 150–200 mm panels, often with a PIR core for maximum R-value per millimetre. Chillers typically run 75–100 mm EPS.
Do I need an insulated floor?
Chillers sitting on an existing slab often don’t. Freezers and off-slab rooms usually do, to prevent cold-bridging and frost heave.
Work out your panel count first
Enter your room size and roof type — get panels, m² and accessory metres in seconds, then send the spec for pricing.