
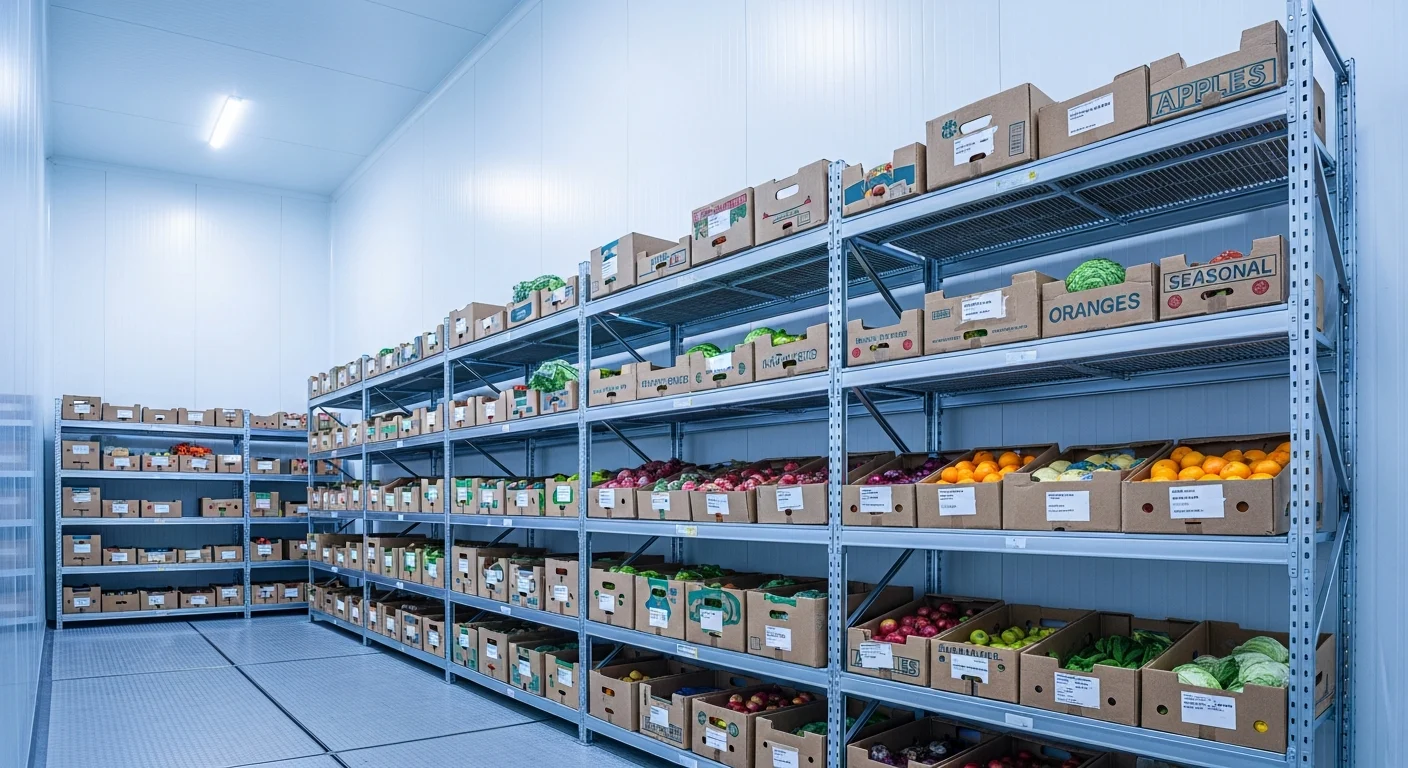
Most people size a cool room by guessing a footprint and hoping it fits. Work the other way — start from what you’re storing, how it’s stacked and how you get to it — and the dimensions fall out on their own. Here’s the method, plus the clearances people forget until the room is built.
Start with the product, not the room
Before any dimension, answer four questions:
- What are you storing? Pallets, cartons on shelving, hanging stock, drums, or a mix.
- How much at peak? Not your average — your busiest week, or the delivery that arrives all at once.
- How often does it turn over? Daily picking needs aisles and access; long-term storage can be packed tighter.
- How will you move it? Hand trolley, pallet jack or forklift — this sets your aisle width more than anything else.
These four determine your footprint. Temperature determines your panel spec, which is a separate decision covered in our cool room panel guide.
Sizing by pallets
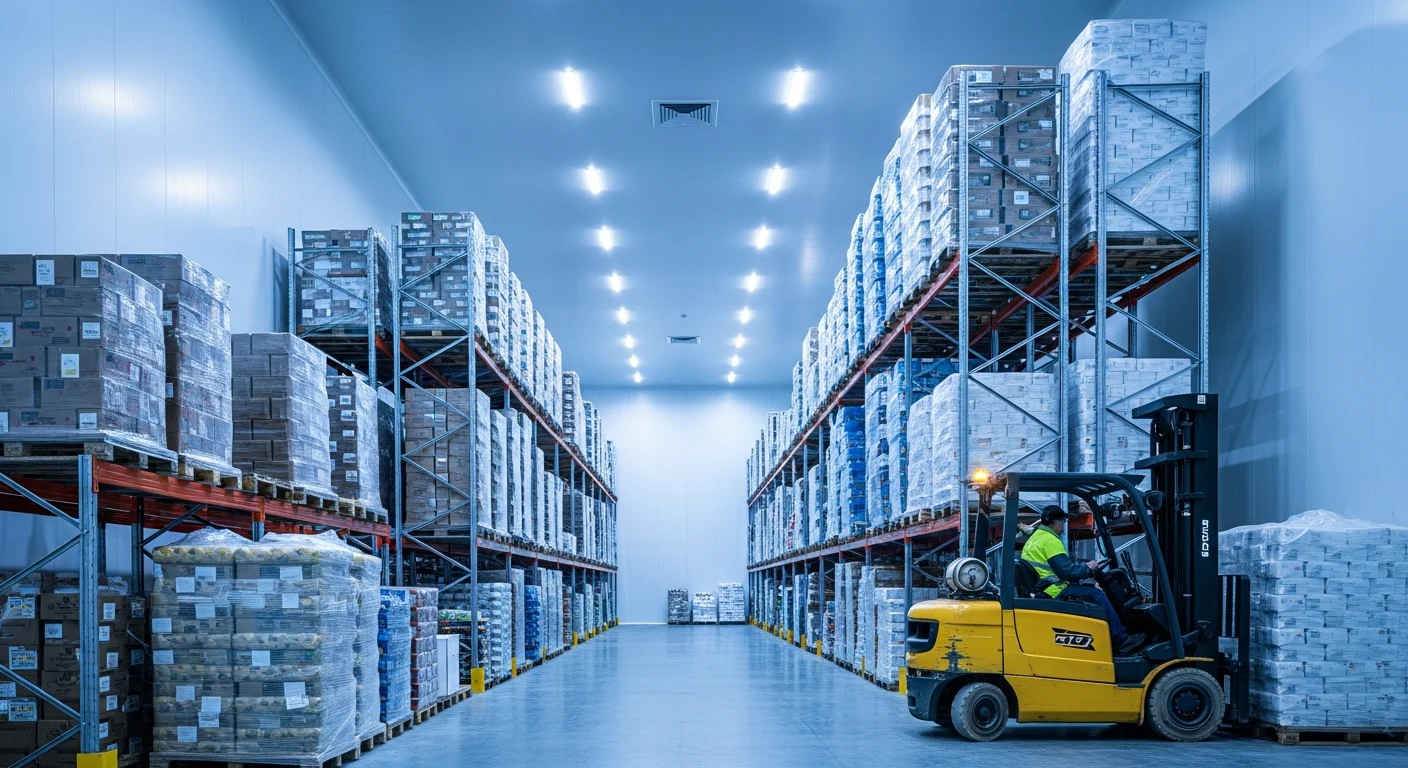
If you’re storing on pallets, count pallet positions first. The Australian standard pallet is 1165 × 1165 mm; you may also see 1200 × 1000 mm export pallets or 1200 × 800 mm Euro pallets.
Work out how many pallet positions you need at peak, then lay them out on paper with:
- An aisle wide enough for your equipment — a pallet jack needs meaningfully less than a forklift
- Clearance from walls so air can move behind stock
- Room for the door to open and for someone to stand and work
Stacking pallets two or three high multiplies capacity without growing the footprint — but only if your height and your handling equipment allow it.
Sizing by shelving
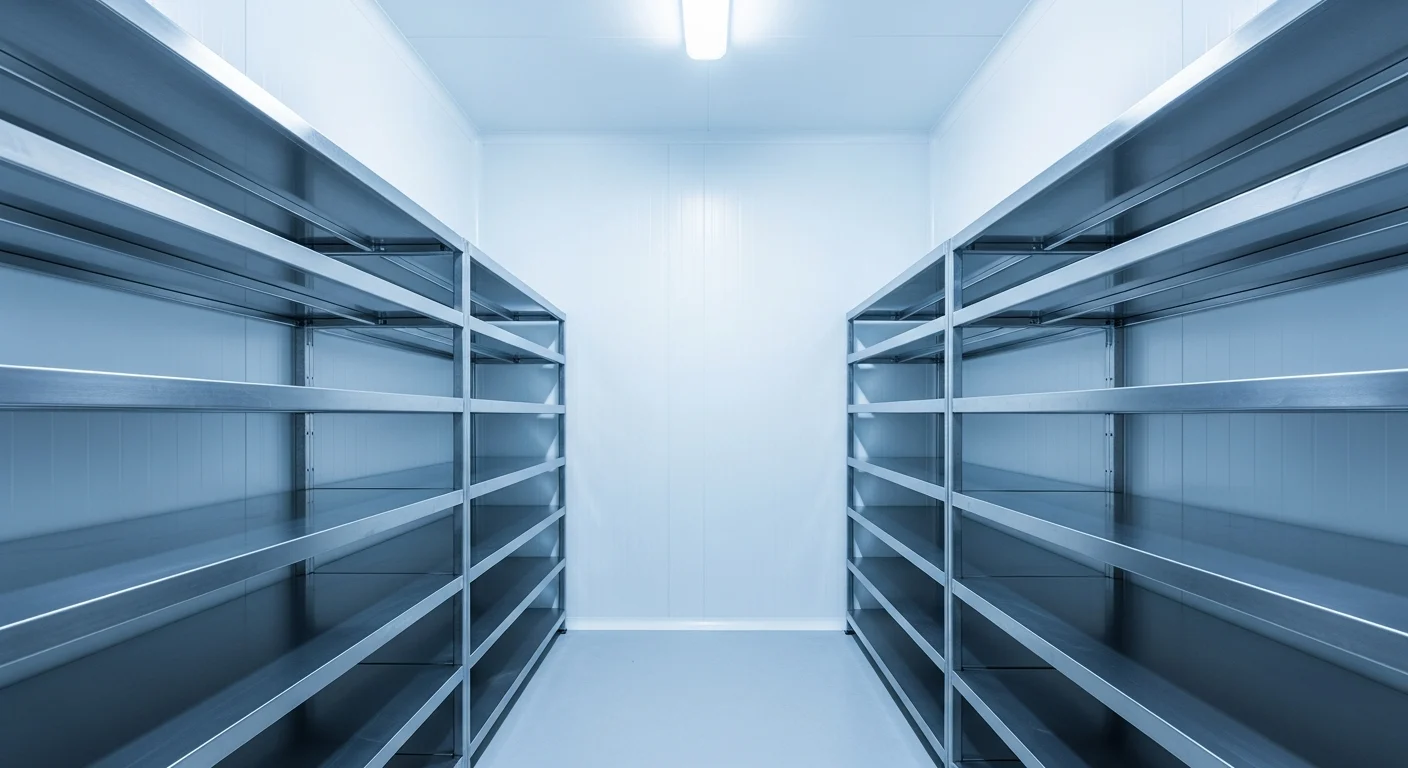
For cartons, trays and smaller goods, think in linear metres of shelving rather than floor area.
- Decide shelf depth (single-depth is easier to pick than double)
- Count the shelf levels you can fit within your ceiling height
- Total linear metres = runs × levels
- Add an aisle between runs wide enough to pick from comfortably
Shelving along two walls with a central aisle is the most common efficient layout for small rooms.
Don’t forget height
Height is the cheapest capacity you can buy — going up costs far less panel than going out. But it isn’t free:
- Leave clearance below the evaporator so air can circulate — blocking it hurts performance
- Don’t stack to the ceiling; cold air needs a path over the top of stock
- Match height to your handling equipment — capacity you can’t safely reach isn’t capacity
The clearances people forget
| Clearance | Why it matters |
|---|---|
| Stock off the walls | Air must circulate behind product or you get warm spots and condensation |
| Below the evaporator | Blocked airflow reduces performance and can cause icing |
| Above the stack | Cold air needs a return path across the top of the room |
| Door swing / travel | A door that fouls a shelf or pallet is a daily annoyance |
| Working space | Somewhere to stand, turn and set a box down while picking |
A worked example. Say you need 6 pallet positions at peak, stored two high, and you use a pallet jack.
1. 6 positions ÷ 2 high = 3 pallet footprints on the floor.
2. Three 1165 mm pallets in a row ≈ 3.5 m of wall, plus clearance either side.
3. Add an aisle deep enough to bring a pallet jack in, turn it and withdraw.
4. Add wall clearance for airflow and space for the door to open.
You land somewhere in the region of a 3.5–4 m × 3 m room — but the exact figure depends on your aisle, your equipment and your door position. This is a worked method, not a specification.
Build in headroom — but not too much
Two opposite mistakes, both expensive:
- Sizing to today exactly. Businesses grow, deliveries arrive early, and a full cool room forces bad decisions. Extending a built room means new panels, new refrigeration sizing and downtime.
- Sizing way too big “just in case”. Every extra cubic metre is more panel to buy and more air to keep cold — forever. An oversized room is a permanent tax on your power bill.
Modest headroom on the footprint, and honest height, is usually the right balance.
Once you have dimensions, get your panel count
With internal length, width and height settled, the next step is materials. Our 3D cool room panel calculator takes those dimensions and returns wall and ceiling area, panel count at your cover width, and accessory metres — and shows the build in 3D as you adjust it.
If you haven’t planned the build sequence yet, our step-by-step cool room build guide covers the order to work in.
Frequently asked questions
What size cool room do I need for a small restaurant?
It depends on delivery frequency and menu more than seats. Count what arrives in your largest delivery, decide whether it’s stored on shelving or pallets, then apply the methods above. Frequent deliveries mean you can run a smaller room.
How much usable space does a cool room actually have?
Noticeably less than its internal volume. Aisles, wall clearance for airflow, evaporator clearance and space above the stack all take from it — which is why you should size around access, not just fit.
Is it cheaper to go taller or wider?
Going up is usually the cheaper way to add capacity, since it adds less panel area than expanding the footprint. But you need the ceiling height, safe handling equipment, and clearance for airflow above the stack.
Should I size the room bigger for future growth?
A modest allowance is sensible — extending later means new panels, new refrigeration sizing and downtime. But every extra cubic metre costs more to buy and more to keep cold permanently, so avoid oversizing “just in case”.
Got your dimensions? Get the panel count
Enter length, width, height and roof type — panels, m² and accessory metres in seconds.