
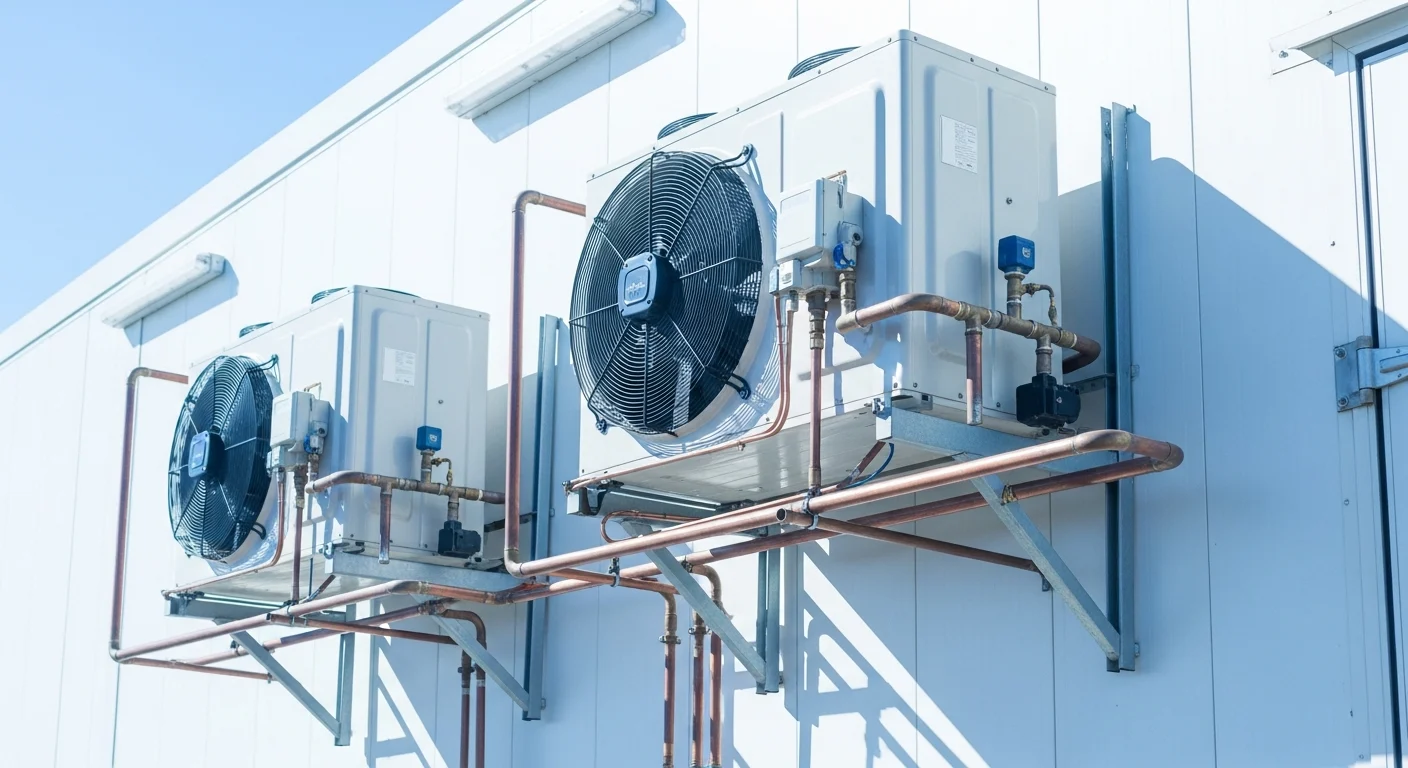
There’s no honest single answer to “what does a cool room cost to run” — it depends on your set-point, your insulation, how often the door opens and where the room sits. But the drivers are predictable, and most of them are decided before you switch it on. Here’s what actually moves the number, and how to estimate your own.
Why running cost isn’t a fixed number
A refrigeration system doesn’t run constantly — it runs as hard as it needs to in order to remove heat that leaks in or gets carried in. Your power bill is essentially the cost of removing that heat, over and over.
So every driver below is really the same question: how much heat gets into the room, and how often?
Insulation: the one you buy once
Heat leaks through walls, ceiling and floor continuously — 24 hours a day, whether the door opens or not. This is the baseline load, and it’s set entirely by your panel spec.
Thicker panels and a lower-conductivity core mean less heat gets through, which means the compressor runs less. This is why panel choice is a running-cost decision, not just a purchase decision:
| Core | Thermal conductivity (λ) | Insulation per mm |
|---|---|---|
| EPS | ~0.037 W/m·K | Baseline |
| PIR | ~0.022 W/m·K | Roughly double EPS |
| Rockwool | ~0.038 W/m·K | Similar to EPS (chosen for fire, not R) |
Indicative figures — confirm against the manufacturer datasheet. The practical read: for a freezer, spending more on thickness or a PIR core buys you lower power draw for the life of the room. For a chiller that isn’t working hard, EPS at a sensible thickness is usually the better value. Full breakdown on our EPS vs PIR vs Rockwool comparison.
Set-point: every degree colder costs more
The bigger the gap between inside and outside, the faster heat leaks in — and the harder the system works. A freezer at −20°C in a 35°C shed is fighting a 55°C difference; a chiller at +4°C in the same shed fights 31°C.
That’s why freezers cost substantially more to run than chillers of the same size, and why running a room colder “just to be safe” is an expensive habit. Set it to what the product actually requires.
Door openings: the fastest way to lose cold
Every time the door opens, cold air falls out and warm, humid air rolls in. In a busy kitchen or storeroom, this can rival the leakage through the walls.
It’s also the driver you can fix cheaply — see the quick wins below.
Where the room sits
The same cool room costs more to run in an uninsulated tin shed in summer than in a temperature-controlled building. Direct sun on the walls, poor ventilation around the condenser, and high ambient temperatures all push the load up.
Give the condenser clear airflow and keep it out of direct sun where you can — it’s free performance.
What you put in it — and how warm
Product arriving at ambient temperature has to be chilled down, and that heat has to be removed. Loading warm stock in bulk creates a spike in load that the system has to work through.
Where possible, stage warm product rather than filling the room at once, and don’t use a freezer to do a blast-chiller’s job.
Seals, defrost and maintenance
A perished door seal, iced-up evaporator or dirty condenser coil all make the system work harder for the same result. These creep up gradually, so the bill rises without an obvious cause.
Door seals, coil cleaning and correct defrost settings are the cheapest running-cost savings available — and they’re the first thing to check if your bill jumps.
How to estimate your own running cost
You don’t need a full heat-load calculation to get a usable estimate. The structure is:
Step 2. Estimate run time — the fraction of each day the compressor actually runs (its “duty cycle”). A well-insulated chiller in a mild space runs far less than a freezer in a hot shed.
Step 3. kWh per day = kW × hours run per day.
Step 4. Cost = kWh per day × your electricity rate (use the c/kWh on your own bill — rates vary a lot by state, retailer and tariff).
We deliberately don’t publish a “typical” dollar figure, because plugging in a national-average tariff would give you a number that’s wrong for your site. Use your actual rate and your actual unit — your installing refrigeration technician can give you a realistic duty cycle for the design.
Six quick wins that cut the bill
- Fit strip curtains or an air curtain on high-traffic doors — cheap, and it directly attacks Driver 3.
- Fix door discipline — a door propped open during a delivery undoes a lot of insulation.
- Check and replace door seals — a perished gasket leaks continuously.
- Keep the condenser clean and clear — dust and blocked airflow raise head pressure and power draw.
- Review defrost settings — too frequent wastes energy, too infrequent ices the coil.
- Don’t over-cool — set to what the product needs, not colder.
Spending more on panels to spend less on power
Insulation is the only driver you buy once and benefit from every day for the room’s life. For freezers and hard-working cold stores, stepping up thickness — or moving to a PIR core — reduces the continuous leakage load permanently.
For a lightly-used chiller, that same spend often doesn’t pay back, and EPS at a sensible thickness is the smarter buy. The right call depends on your set-point and how hard the room works, which is exactly the decision our core comparison and cool room panel guide are built to help with.
Frequently asked questions
Does a thicker panel really lower running costs?
Yes — thicker or lower-conductivity panels reduce the heat that leaks in continuously, so the compressor runs less. The effect is largest on freezers and rooms in hot environments, and smallest on lightly-used chillers indoors.
Is a freezer much more expensive to run than a chiller?
Generally yes. The temperature difference between inside and outside is much larger, so heat leaks in faster and the system works harder to remove it.
Why did my cool room’s power bill suddenly increase?
Common causes are a failing door seal, an iced-up evaporator, a dirty or obstructed condenser, incorrect defrost settings, or simply more door openings and warmer stock than usual. Check seals and coils first.
Can you tell me what my cool room will cost per week?
Not honestly, without your set-point, room size, panel spec, location and electricity rate. Use the estimation method above with your own tariff, and ask your refrigeration technician for a realistic duty cycle.
Start with the right panel spec
Size your room, choose a thickness and see the panel count — the spec that sets your running cost for years.